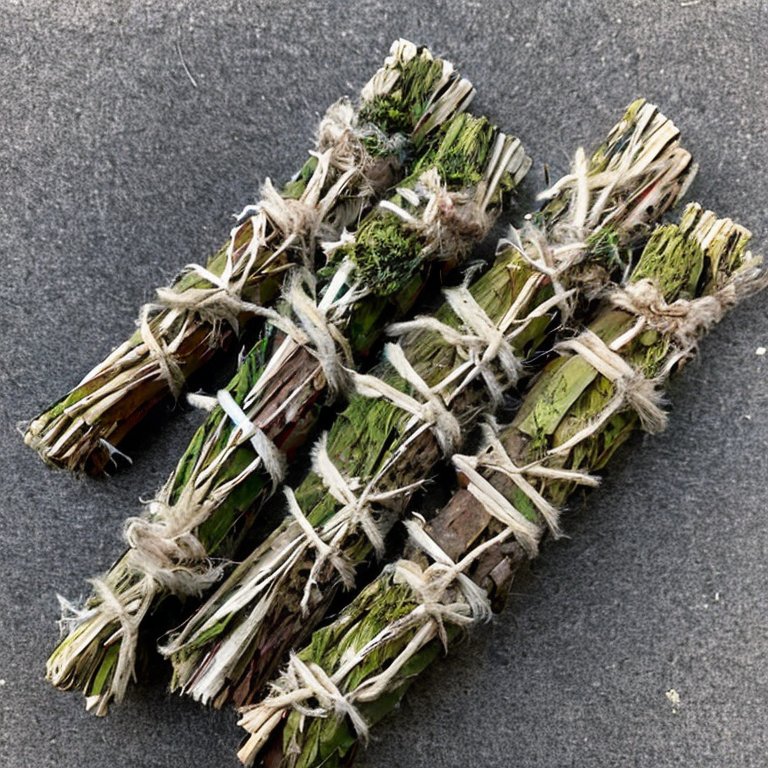
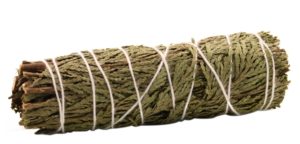
Smudging is an ancient practice that has been used by various cultures for centuries. It is the act of burning herbs, often sage or cedar, to purify the air, banish negative energies, and promote positive vibes. Cedar smudge sticks are a popular choice for their refreshing, grounding, and purifying effects.
In this article, we will guide you on how to properly dry cedar for making smudge sticks, ensuring that you create high-quality, long-lasting, and effective smudge sticks that you can use for your spiritual rituals.
Step 1: Choose the Right Cedar Before you start drying your cedar, it’s important to choose the right type of cedar. Western Red Cedar, also known as Thuja plicata, is the most commonly used cedar for smudging. It has a pleasant aroma, a straight grain, and is easy to work with. Make sure that you select fresh and healthy branches, without any signs of damage, disease, or pests.
Step 2: Clip the Amount of Cedar You’ll Need To determine the amount of cedar you need for your smudge sticks, consider how many bundles you plan to make and how large you want them to be. Several boughs can make three or four bundles, depending on how you cut them. Clip the cedar from the branches, cutting them into lengths about 6 or 8 inches long.
Step 3: Trim the Cedar from the Branches Once you’ve clipped the cedar branches, it’s time to trim them down. Use a pair of sharp, clean scissors or pruning shears to remove the leaves, twigs, and smaller branches. Be careful not to remove too much of the cedar bark, as it adds to the smudge stick’s aroma and texture. Rinse off any dirt, dust, or debris, and let the cedar dry thoroughly.
Step 4: Bundle the Cedar Sticks After the cedar has dried, bundle the sticks together with a rubber band or string. Make sure to wrap the string extra tight when working with evergreens, as the smudge stick will shrink in diameter slightly as it dries. Tie the bundle together about an inch from the base. Make sure it’s a tight, double knot.
Step 5: Hang the Bundle to Dry Once you’ve tied the bundle together, hang it to dry in a cool, dry, and well-ventilated place. Avoid areas with direct sunlight or high humidity, as they can cause the cedar to rot or mold. The drying process can take anywhere from one to three weeks, depending on the humidity and temperature in your area. To speed up the drying process, you can place the bundle in a paper bag and leave it in a dry, warm spot.
Step 6: Store the Dried Cedar Once the cedar is completely dry, store it in an airtight container, such as a glass jar or a plastic bag, to prevent moisture from seeping in. Label the container with the date and type of cedar to keep track of your inventory. Your cedar sticks are now ready to be used for making smudge sticks.
Frequently Asked Questions:
-
Can I use any type of cedar for making smudge sticks?
While there are many types of cedar, Western Red Cedar is the most commonly used for making smudge sticks. It has a pleasant aroma, a straight grain, and is easy to work with.
-
How do I know if my cedar is dry enough for making smudge sticks?
Cedar is dry enough for making smudge sticks when the branches are stiff, the leaves are brittle, and the bark is firm and dry to the touch.
-
Can I dry cedar in the oven or microwave?
It is not recommended to dry cedar in the oven or microwave, as it can potentially create a fire hazard or damage the wood. Cedar is a porous wood that can easily absorb moisture, and it is best to let it air dry slowly in a well-ventilated area. If you need to dry cedar quickly, you can use a dehumidifier or a fan to speed up the process, but it is important to monitor the wood closely to prevent cracking or warping.
It is also important to note that some types of cedar may be more prone to cracking or splitting than others, so it is always best to consult with a woodworking expert for guidance on the best drying methods for your specific type of cedar.
Also, read:
- Cedar Smudge vs. Sage Comparison
- Can You Reuse A Smudge Stick?
- How To Put Out A Smudge Stick Without Sand
Last Words
Properly drying cedar for making smudge sticks is an important part of the process that should not be overlooked. When done correctly, it can ensure that the smudge sticks burn evenly and have an intense aroma.
To properly dry cedar, it needs to be placed in a warm, dry environment and monitored closely to ensure that it is not exposed to too much heat or moisture. With the right care and attention, you will have smudge sticks that will last a long time and provide a wonderful aroma.


